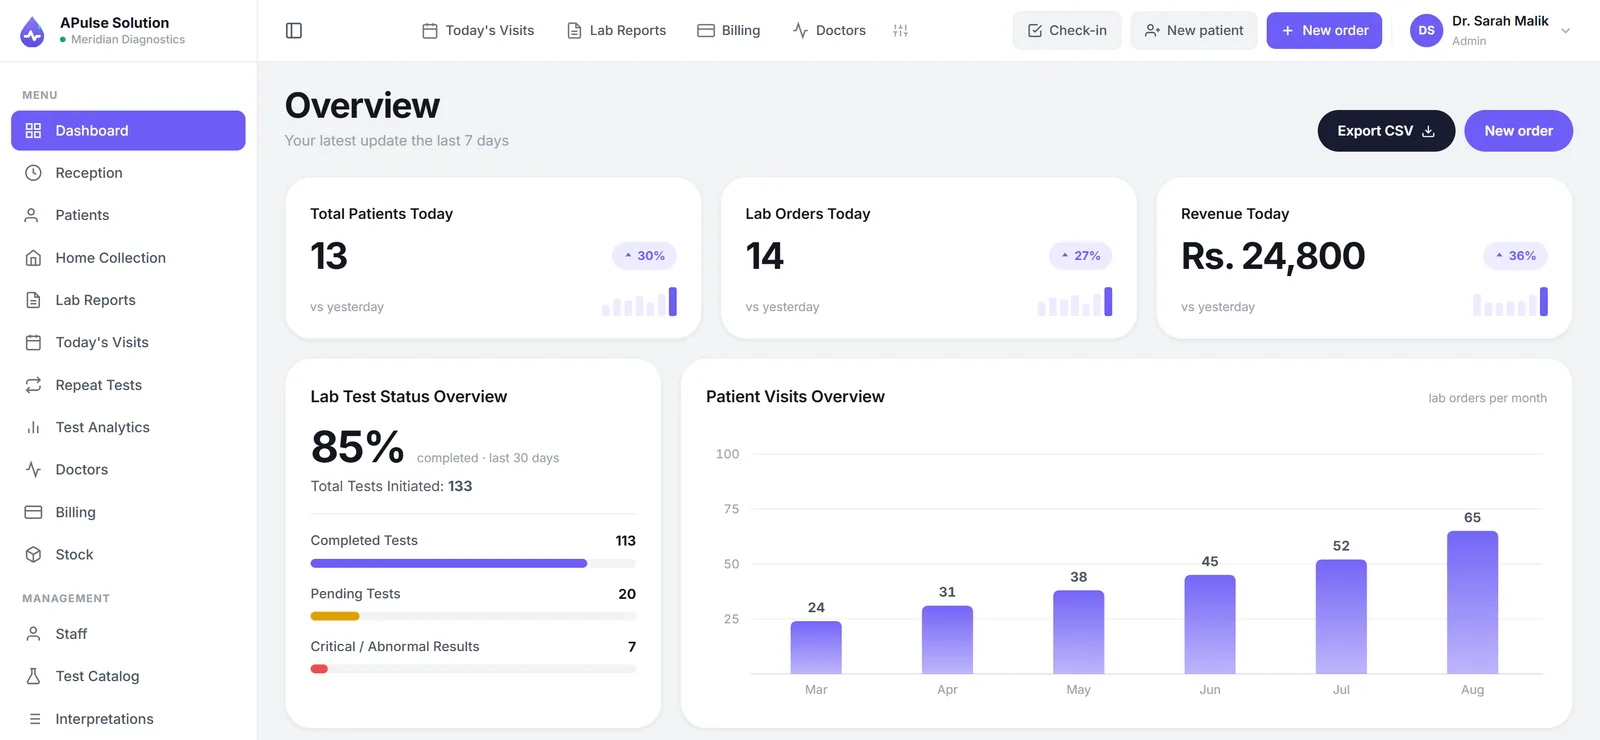
"Is there an app?" is one of the first questions a lab owner asks us. The honest answer used to be sort of. A Pulse Solution could be installed from the browser, but on a phone the screens were laid out for a computer: tables squeezed every column into tall wrapped rows, buttons ran off the edge, and dialogs were too wide for the screen.
This week that changed. Every screen now has a phone and tablet layout, so the installed app is something you can actually use in your hand. This article explains how to install it, what it does and does not do without internet, and the other changes from 29 September to 1 October.
Install it on your phone in under a minute
There is nothing to download from the Play Store or the App Store. The app installs straight from your lab's own A Pulse Solution address, the one your staff already sign in at.
Android (Chrome)
- Open your lab's A Pulse Solution address in Chrome and sign in.
- Tap the ⋮ menu in the top-right corner.
- Tap Install app (on some phones it says Add to Home screen).
- Confirm. The icon appears on your home screen.
iPhone and iPad (Safari)
- Open your lab's address in Safari and sign in.
- Tap the Share button.
- Scroll down and tap Add to Home Screen, then Add.
Computer (Chrome or Edge)
Click the install icon at the right-hand end of the address bar, or open the browser menu and choose Install. It then opens in its own window and can be pinned to the taskbar.
The installed app opens in its own window with no browser address bar. Its icon carries your lab's own name, and the window takes your lab's brand colour, because every lab has its own address and therefore its own app. On Android, long-pressing the icon gives shortcuts straight to Samples, New patient and Today's visits. iPhones do not support these shortcuts, so on an iPhone the icon simply opens the app.
Installing is optional. The same software runs in any browser with nothing installed, and it is the same on every plan, Basic included.
What a phone screen now looks like
These changes apply to every screen in the app, from patients and orders to billing and settings:
- Tables stay readable. Each row stays on one line and the table scrolls sideways inside its box, so a patient list is a list again and not a column of tall wrapped rows.
- Buttons fit. Action buttons wrap onto a second line and share the width instead of running off the right-hand edge.
- Dialogs become bottom sheets. Adding a staff member or taking a payment opens a panel that slides up from the bottom and fills the width. Its title and buttons stay in place while the form scrolls.
- No zooming on iPhone. Form fields are large enough that Safari no longer zooms in each time you tap one.
- The menu becomes a drawer on narrow screens, as it already did.
A phone is best for quick work: checking the day's figures, finding a patient, seeing what is still pending, approving a report, or marking samples at a collection point. Typing a long report or designing a letterhead is still easier on a computer, and nothing about this update changes that.
What works without internet, and what does not
The installed app opens without internet. If your connection drops, the app still loads instead of showing a blank page, and it tells you clearly that you are offline. It also notices when the Wi-Fi is connected but the internet behind it is not working, which is a common problem with lab routers.
Your data does not work offline. This is deliberate:
- No patient data is stored on the phone. Patient records, results and reports are never saved to the device. A lost or shared phone does not carry your patients with it.
- Nothing is queued to send later. Order numbers, invoice numbers and sample numbers come from the server. Two phones creating them offline would produce duplicates, and a payment recorded offline could be collected twice.
- Printing works offline; saving a PDF does not. A report, label or slip already open on screen can be printed. Creating the PDF happens on the server, so it needs the connection.
So the app keeps working when the signal is weak, but not with no internet at all. If your lab has no reliable internet, the separate offline edition runs on a Windows PC in your lab instead.
Faster test selection at registration
Registering a patient with five tests used to mean five searches. Now you can type them all in one go, separated by commas: cbc, lft, rft.
- The list appears instantly while you type, with no wait for each letter.
- The test you typed last is listed first, so pressing Enter adds it. The arrow keys move through the list and Esc clears the search.
- The best match comes first. Typing lipid puts Fasting Lipid Profile above Anti-Phospholipid, and pt puts PT/INR above PTH.
- Once a test is added it leaves the list and appears only in the cart, so it cannot be added twice by accident.
Pressing Enter in the search box never submits the registration form.
WBC as 5.7 or 5700: both are right now
Some technicians type a white cell count as 5.7 and others as 5700. Platelets get the same treatment, 200 or 200000. Usually one of them is flagged wrongly.
In Settings → Tests, a parameter can now carry a Scale × factor, typically 1000 for WBC and platelets. With it set, both ways of typing are stored as the same full value: 5.7 and 5700 both become 5700. Flags, the printed report, formulas, critical values and the delta check all use that value. While typing, the entry screen shows = 5700 next to a short value so the technician can see how it was read.
Reports saved before you set the factor are never changed. One limitation: a very low full value, such as a WBC of 800, would be read as short. It lands far outside the range and triggers the critical-value check, so it gets noticed, but such a value should be typed in the short form (0.8).
Printed reports
- Patient details on every page. A long report used to show the patient's name only on page one, so page two could be separated from it. You can now repeat the patient block on every printed page. Turn it on in the report designer, or tick it for a single print. It is off by default.
- Letterhead spacing. The letterhead designer has Top and Bottom settings in millimetres for the white space around your header and footer artwork. They apply to printing, the saved PDF and the patient's online copy.
- Previous results, tidier. In the department design, the previous-results panel is now a closed box whose heading repeats at the top of every printed page. Only the previous values are printed, without extra labels.
Staff and permissions, on every plan
- Per-person permissions now work on every plan, Basic included. Give one receptionist discount rights, or take billing away from one technician, without changing their whole role.
- The screen follows the permission. A person who cannot give a discount no longer sees the discount button. Each button is checked against the same permission the server enforces.
- Only what your plan includes is listed. The permission editor no longer shows modules your plan does not have, such as the blood bank on Basic. If someone opens a page that is not on your plan, the app explains why instead of showing an error, and offers the plans to an admin.
Smaller things you will notice
- Delete and restore a patient. A patient registered by mistake can now be deleted and restored later. Deleting is blocked while one of their orders is still in progress.
- Master and Baby titles. Master sets the patient as male. Baby sets nothing, so the sex box stays open to fill in.
- The cursor starts in the first field. Every form and dialog opens ready to type, so a receptionist can start without clicking. On phones and tablets this is switched off, so the keyboard does not pop up unless you tap a field.
Try it on your phone
Everything in this article is in the free 7-day demo, with every module unlocked and no card needed. The best test is your own phone: open the demo, install it to your home screen, and use it for one real task, like finding a patient or checking today's pending tests.
The full list of recent changes is on What's new. If something your lab needs on a phone still feels awkward, tell us on WhatsApp. Most of this update came from that kind of message.